Wednesday, November 20, 2013

Jacksonville Fair

On Sunday we went to the Jacksonville Fair for a couple of hours. I have since been informed that the fair is to be avoided, and can be a pretty sketchy scene, so, oops! Chalk that one up to Jacksonville rookie status. But we actually picked a great time to go: right as a home Jaguars game was starting. Parking was a pain, but the fair itself was quite deserted.

Untitled
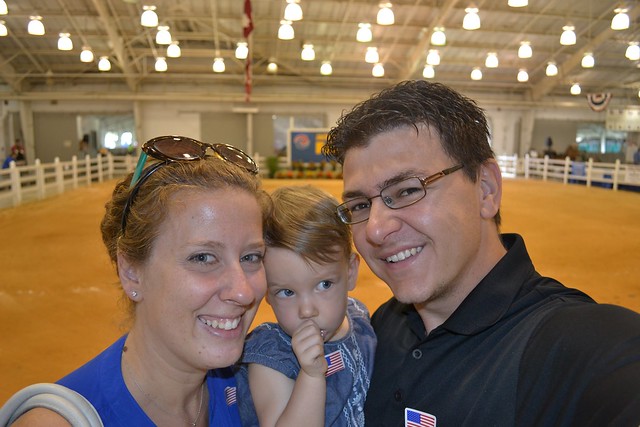
At the fair

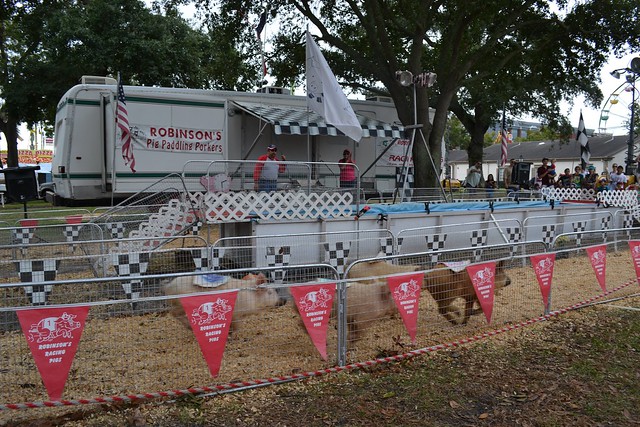
The main thing we wanted to go for was to show Ellie the animals, as she is on a major animal kick. We started things off with the racing pigs show, which frightened her at first, for some reason. She clung to me and said, "no piggies!" all sad and pathetic-like. But, she quickly got over that and as soon as the show was over she was all, "where'd the piggies go?" Kids, man. Fickle creatures.

Untitled
Racing pigs

Untitled
Protecting her from the piggies

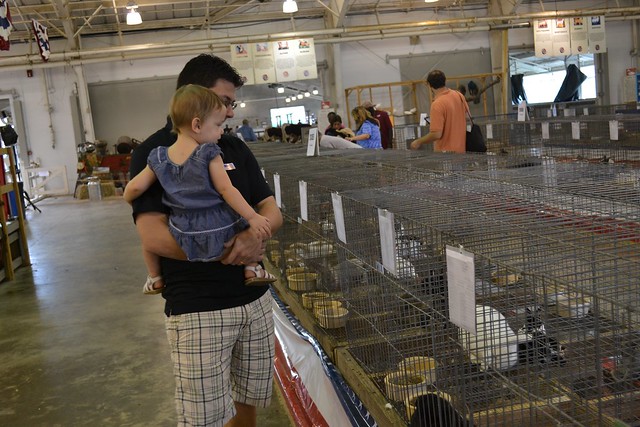
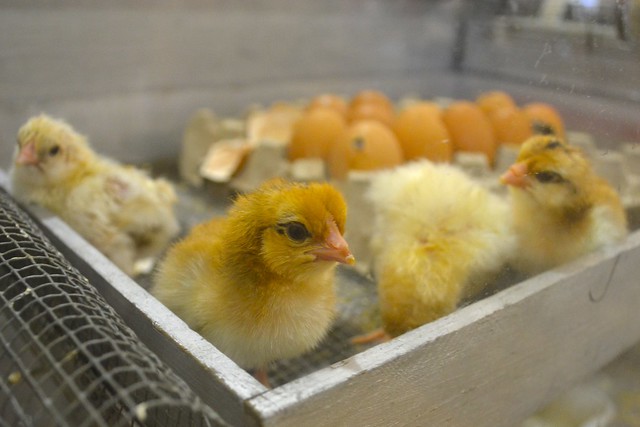
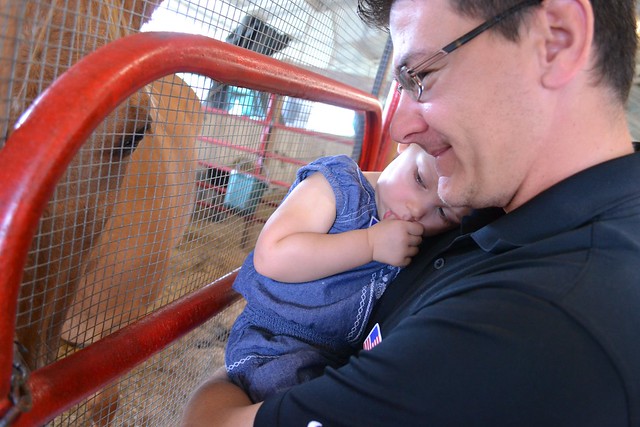
We also spent some time in with all the bunnies, chickens, cows, and sheep. Ellie was a big fan of that. She particularly enjoyed the bunnies and the chickens, but was unsure of the horses.

Untitled
Checking out the rabbits

Untitled
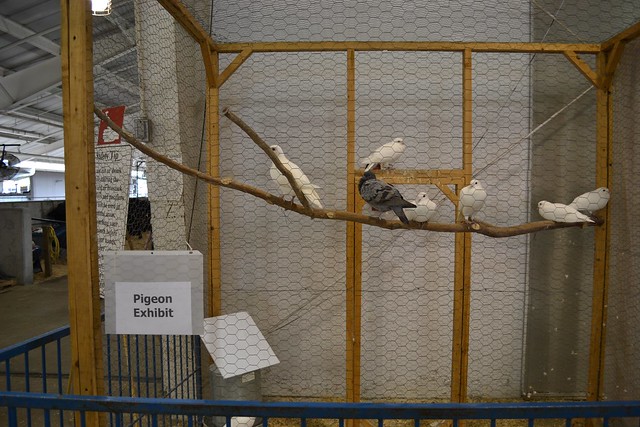
Pigeon exhibit? This is a thing? The New Yorker in me is giving a hearty side-eye at this one.

Untitled
Chicks!!!!

Untitled
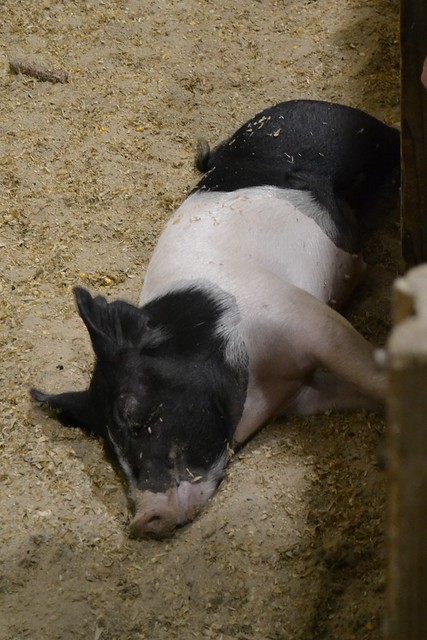
Lazy.

Untitled
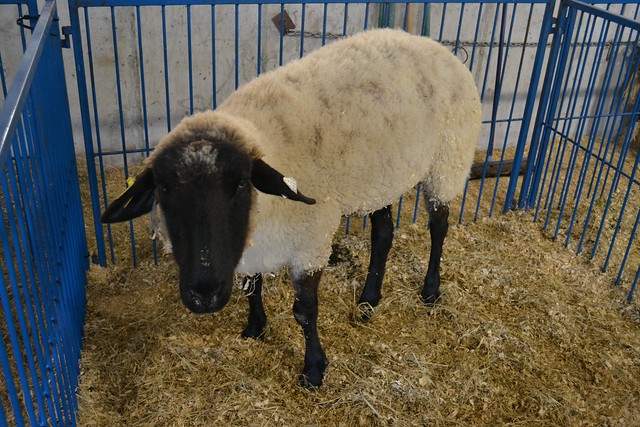
Baaaaa.

Untitled
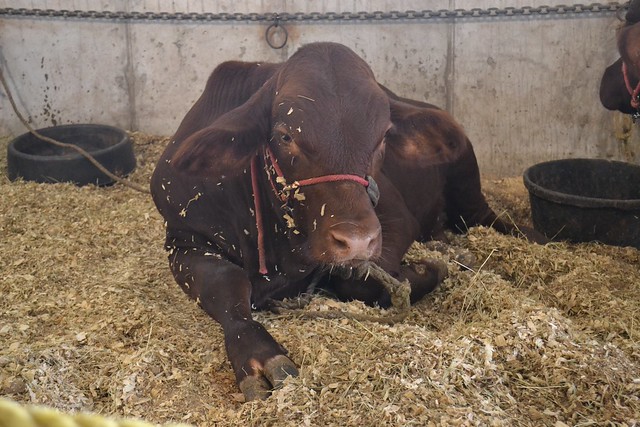
Moo

Untitled
"All done, neigh."

We also ate a little BBQ and took in some other fair sights before calling it a day.

Untitled
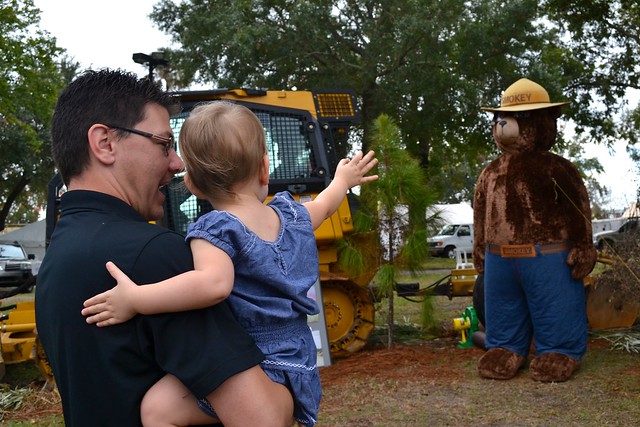
"Hi, bear!"

Untitled
Pretending to be planes with her Daddy

Untitled
Food time!

If nothing else, the fair apparently wore Ellie out, as she was actually asking for a nap when we got home and slept so long, we had to wake her. Fair for the win!

Monday, November 18, 2013

Jacksonville Veterans Day Parade

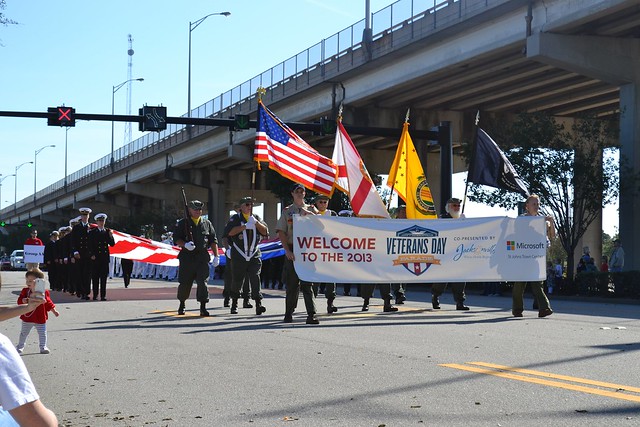
As I mentioned last week, we spent most of our Veterans Day Weekend cooped up inside thanks to lingering illness for Ellie and me. However, we did pull it together for a couple hours on Veterans Day proper to get out to the Jacksonville Veterans Day Parade. This was Ellie's first parade experience, and given her current love of marching bands, I thought she would thoroughly enjoy it. I was not wrong.

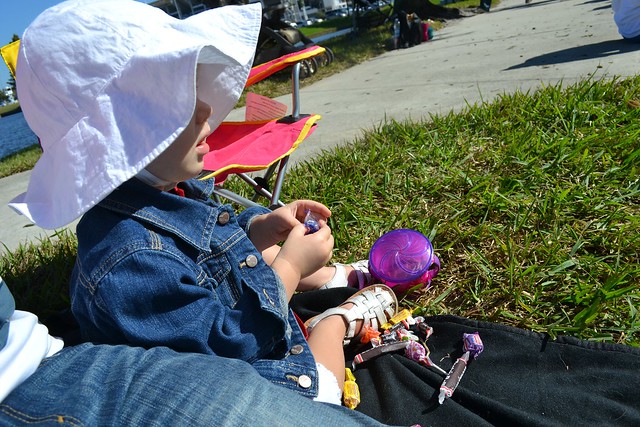
Because old New York habits die hard, we arrived far earlier than we actually needed to in order to secure a good spot near the start of the parade route. So, we had some time to kill, which we spent with snacks, cuddles, and watching Eric whistle with a blade of grass.

Untitled
Pre-parade snacks

Untitled
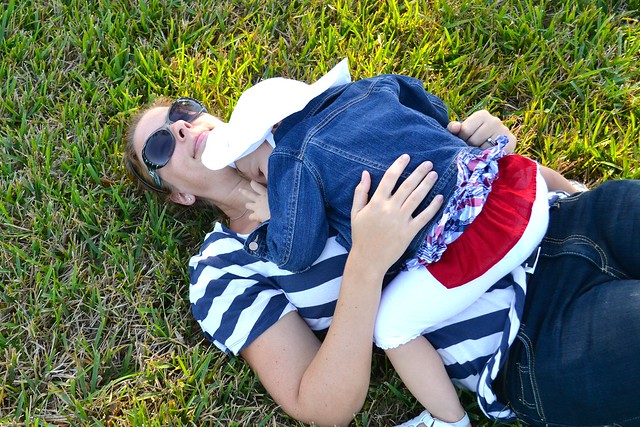
Cuddling in the grass

Untitled
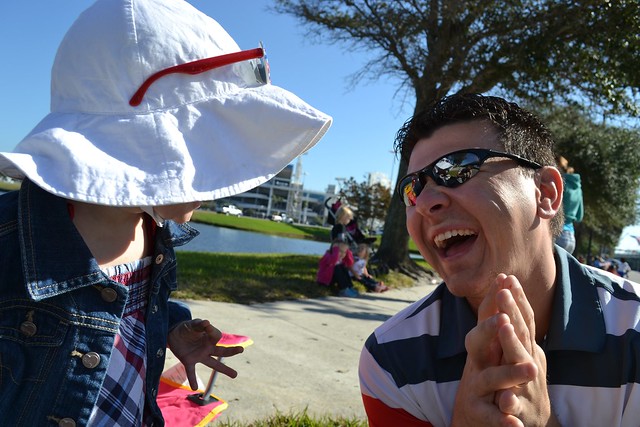
Ellie LOVED Eric's grass whistling

Untitled
Oh, these two.

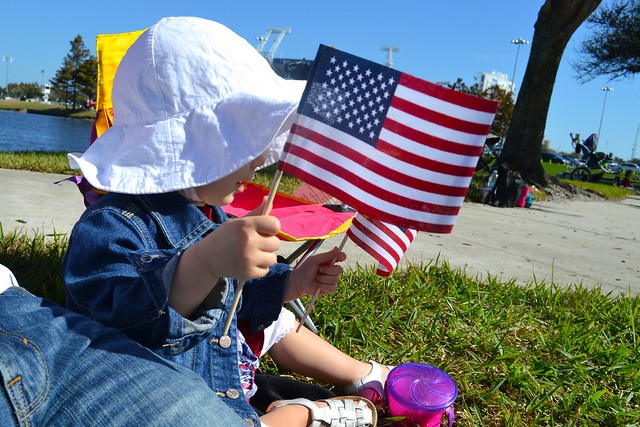
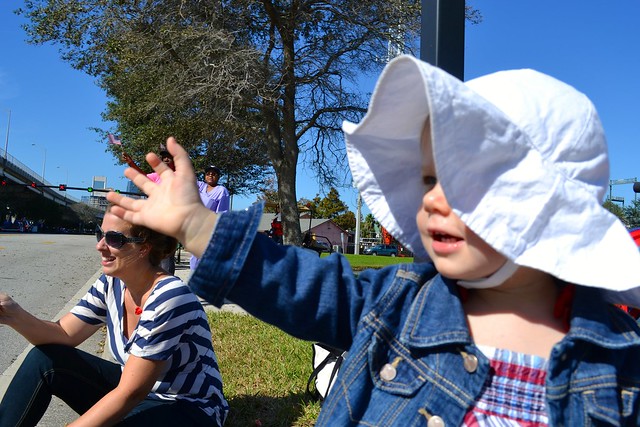
At last, the parade was underway. As expected, Ellie loved the bands in particular. She was also pretty interested in the throwing of candy, and soon got into the whole thing by waving hello to passing cars and floats and proudly waving her little flag.

Untitled
Here comes the parade!

Untitled
Ellie's favorite part (and mine)

Untitled
Fire trucks

Untitled
Keeping an eye on things while she checks out the free candy

Untitled
Hi, parade!

Untitled
Two flags!

Untitled
Waving flags with her Daddy

Untitled
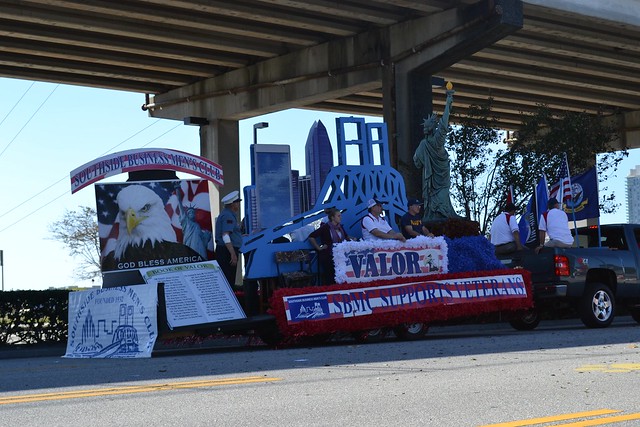
We liked this float!

Untitled
Jacksonville Gator Club

Untitled
Ellie is a parade natural!

I was still feeling pretty worn out, so we didn't make it to the end of the parade. But, we sure had a nice time while we were there. It was a beautiful day for such an event, and I think that we have started Ellie off on a solid parade-loving path!

Friday, November 15, 2013

DIY Little Mermaid Family Costumes

***To see the tutorial for the DIY Little Mermaid Tutu Skirt, click here.***

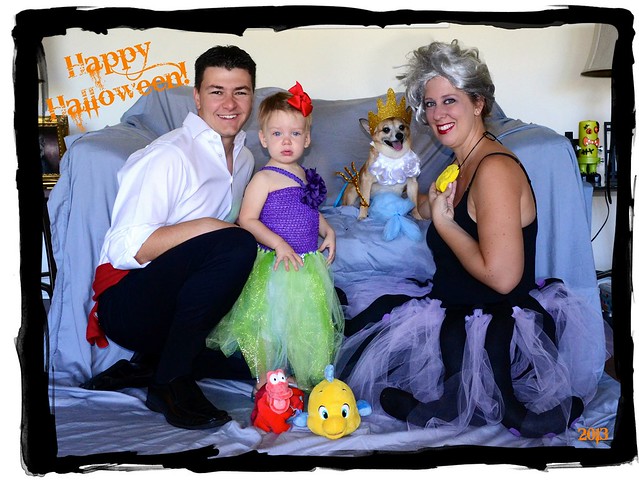
Today I'll wrap up what has become a series of Halloween-related posts, and we can officially move on into November. Yesterday I showed you how I made my daughter Ellie's DIY No-Sew Mermaid Tutu Costume, and today I'll show you how I made my Ursula costume, my husband's Prince Eric costume and my dog's King Triton costume. Let's do this!

DIY ADULT URSULA COSTUME

Ursula Collage

Supplies and Cost Breakdown:

Tutu Skirt:
  • 2 rolls purple tulle @ $2.99/each = $6 (from Joann Fabrics)
  • 1 package 3/4" non-roll ribbed elastic = $3.29 (Joann Fabrics)
Tentacles:
  • Four pairs black trouser socks @$1/each = $4 (Dollar General)
  • One 8.5x11 piece purple felt = $0.25
  • One 12-oz package PolyFil batting = $3.99
Necklace:
  • One package yellow Crayola Model Magic Clay = $4.99
  • Cord = $1.50
Items I already had, so no additional cost:
  • Wire dry cleaner hangers for wire in tentacles
  • Fabric glue
  • Needle and thread
  • Black tank top
  • Black leggings
  • Makeup
  • Gray wig (from a previous Halloween)
TOTAL COST: $24.02

Instructions:

I really only made three pieces for my costume: the tentacles, a tutu skirt to go underneath them (optional, of course), and the shell necklace.

For the tutu skirt, I followed the same method that I used for Ellie's Little Mermaid Tutu Skirt, as described yesterday, except I knotted the tulle around an elastic band instead of into a crochet headband.

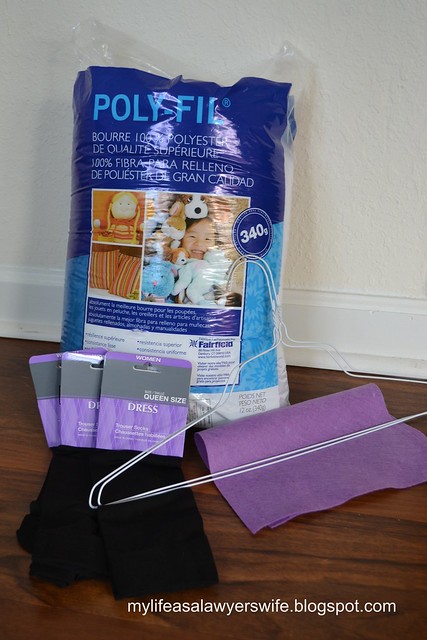
The tentacles were a little more involved, but still really easy. Instead of going to the trouble of actually sewing and stuffing my own tentacles (I wanted as little sewing as possible because I am a rather poor seamstress), I picked up four pairs of black trouser socks at the Dollar store. They were a good length for my needs and ta-da! Minimal sewing required. I also picked up some batting to stuff them with and some felt to make the suckers. I also used some wire hangers I had laying around the house to make the tentacles bendy.

DSC_0122

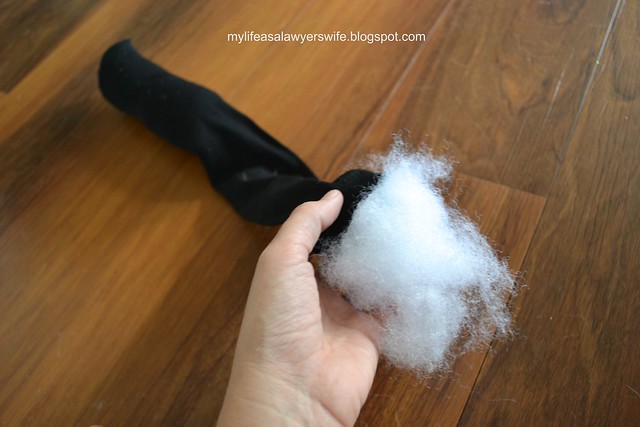
I started by stuffing each of the trouser socks with the batting.

DSC_0125

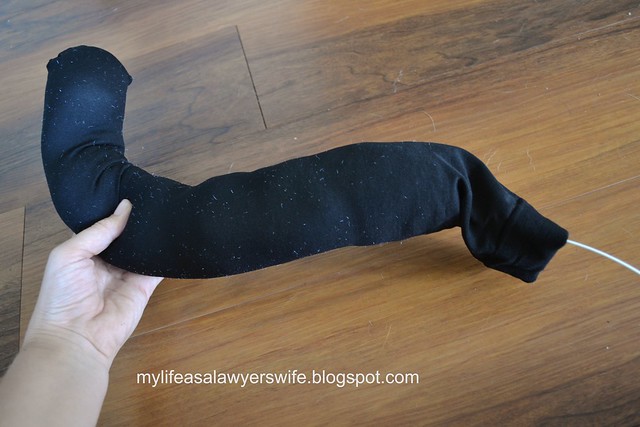
Then, I inserted a wire hanger into each one, trimming the wire as necessary and giving the tentacle a little bit of bend.

DSC_0124

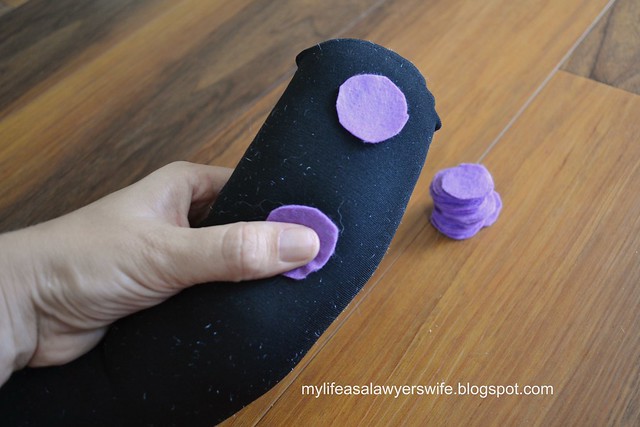
Next, I cut out small circles from my piece of purple felt. I traced a water bottle cap to keep them uniform, and I used about six circles per tentacle, so 48 circles in total. I glued them to the underside of the tentacles using fabric glue (I already had that on hand).

DSC_0131

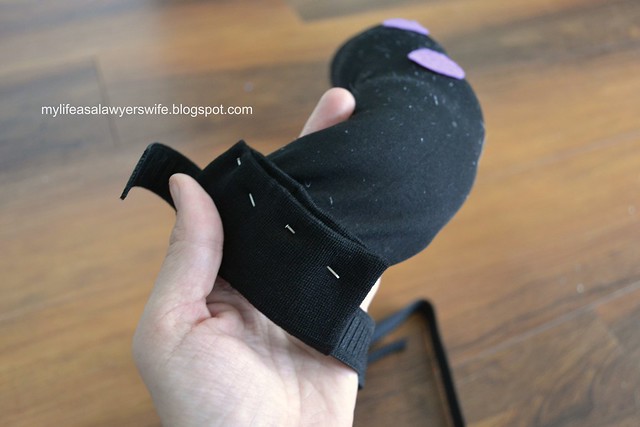
When I was sure everything was dry, I started attaching the tentacles to the elastic waistband. I folded the end of each sock over the elastic and stitched underneath. I didn't sew them to the elastic, as I wanted to be able to slide them around the waistband to arrange them however I liked while I was wearing the costume.

DSC_0135

To clarify, I actually wore two separate "skirt" pieces: my tutu skirt and the tentacle skirt. I'm sure I could have combined them but, hey. I didn't.

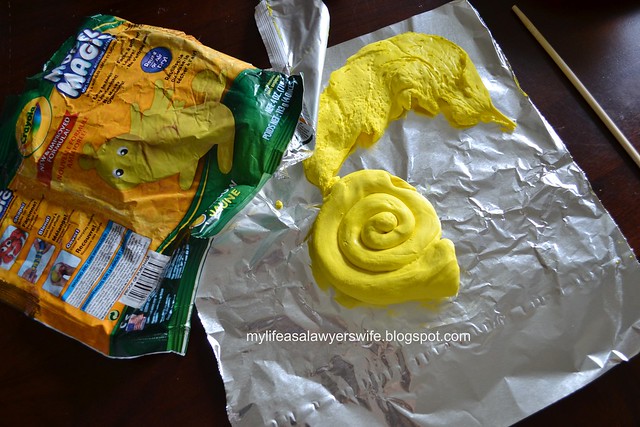
I also made Ursula's shell necklace out of Crayola Model Magic Clay. If you go this route, make sure to make this in advance because it took my necklace a good solid week to dry completely. No real tutorial here; we've all done this with Play-Doh in our day, right? Just roll it out into a long, skinny piece and then wrap it around itself to form the shell shape. I then stuck a wooden rod through the top to make holes to thread my necklace cord through, and let it dry with the cord sealed into the clay. Voila!

DSC_0143

For the rest of my costume, I wore a black tank top, black leggings and black flats. I had a grey wig from last Halloween lying around, and I wore that but gathered and pinned the long hair up onto the top of my head. And of course, I wore some bright red lipstick. And that was it! 


DIY ADULT PRINCE ERIC COSTUME

Prince Eric Collage

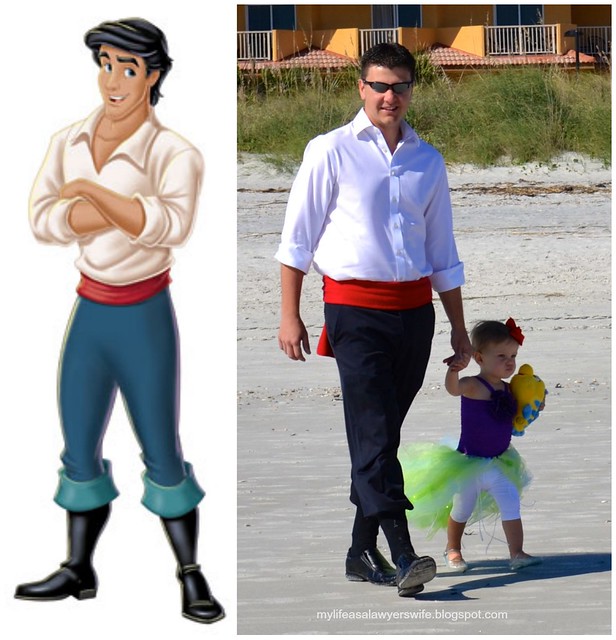
Really, I don't have a tutorial or supply list for this one because it didn't require any "making" of things. All you need for a Prince Eric costume is a button-up white shirt (left partially unbuttoned, with the sleeves rolled up), blue pants, a red belt (we used a scarf we already had), and black boots. We considered buying boot tops for Eric, but ultimately decided to just fake the look by tucking the pants into black socks with black dress shoes. And, done!


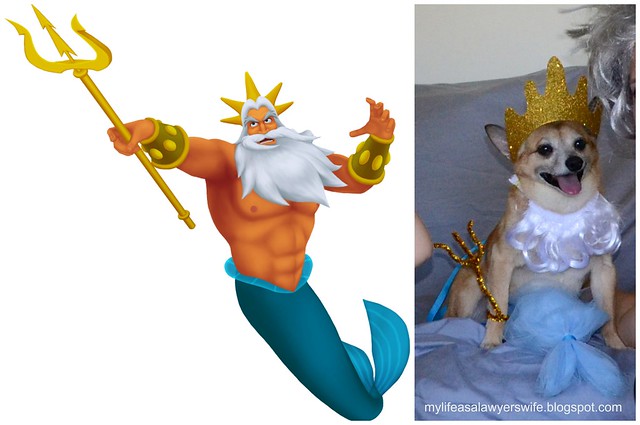
DIY DOG KING TRITON COSTUME

Triton Collage

I have to admit that Achilles' costume was probably my most favorite part of our family ensemble. When we originally had the Little Mermaid idea, I just assumed he'd wear a crab costume he already had and be Sebastian. But then I thought, wait. He also already has a beard. And it was all over from there, because OBVIOUSLY Achilles was born to play King Triton.

Supplies and Cost Breakdown:
  • Blue tulle: I used leftover tulle from Ellie's mermaid tutu, so $0
  • Blue ribbon: $0.50
  • Gold glitter foam visor: about $1 (I believe I bought this at Joann Fabrics, but it may have been Michael's. It looked like these, except in the store I was able to buy one individually.)
  • Gold sparkly pipe cleaners: $1.99
  • Already owned: fake beard (came with a Santa costume set from Target a few years ago)
TOTAL COST: approximately $3.50
Instructions:

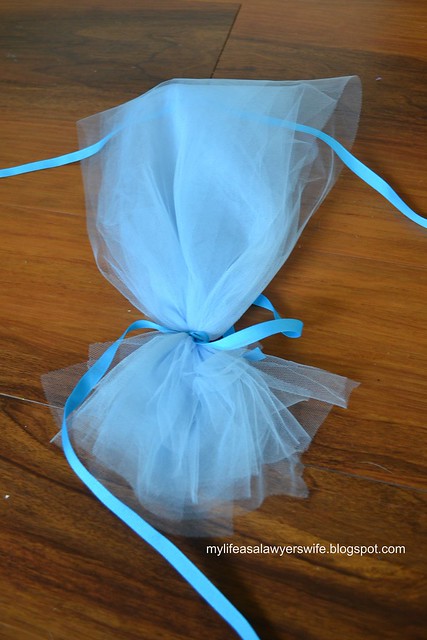
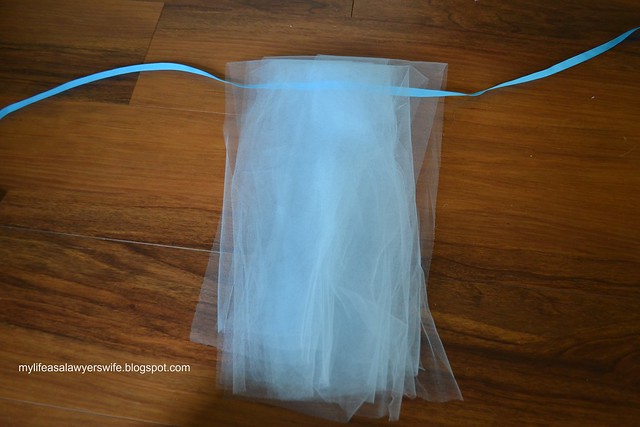
To make the merman tail, I simply took what strips of blue tulle I had leftover from Ellie's mermaid tutu skirt and folded them in half over a piece of blue ribbon (I believe the tulle strips were approximately 31" long, but obviously measurements will vary based on size of dog).

DSC_0139

I then tied another piece of blue ribbon around the base to make the "fins."

DSC_0141

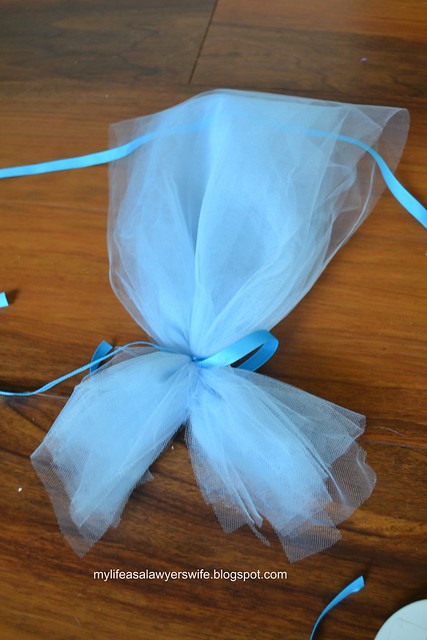
I then cut that bottom section in half, squirted a little fabric glue on each half and twisted the ends together to make the fins more defined.

DSC_0142

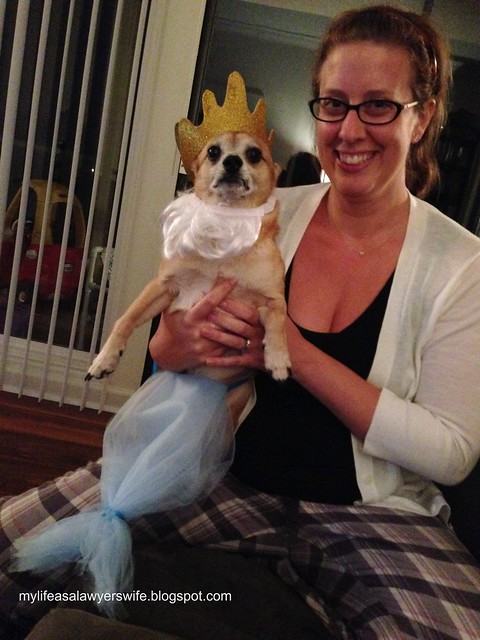
To put this on the dog, I just tied the top ribbon around his waist. It worked for a photo, but admittedly, this is not the best plan if you want to take him out and about in his merman tail, because it flops around to the front rather easily. But, we only really wanted the picture, so this was fine for us.

For the crown, I just drew the outline of Triton's crown freehand on the back (non-glittery) side of the gold visor, then cut it out with scissors. The visor already had a little strap attached that made it easy to put it on Achilles. I also fashioned a trident out of pipe cleaners. I originally tried to make arm cuffs out of leftover crown trimmings, but they didn't stay on very well so we scrapped that idea.

This took no time at all and I nearly died laughing when we actually tried it on him.

IMG_2668

Surely there is a special place in Doggy Heaven for this poor pooch whenever his time with us is through, don't you think? What a good sport! He made our whole ensemble, I think.

And that's it! That's how we put together our Little Mermaid family costumes!

Halloween 2013

Thursday, November 14, 2013

DIY (No-Sew*) Mermaid Tutu Costume

Before officially wrapping up Halloween-related posts, I wanted to write a couple more about our Little Mermaid Family Costumes this year. This was the first year that all of our costumes were homemade (look at me! It's like I'm a real live Mom now!), and of course, I made that happen with lots of help from Google and Pinterest. In the end, it was fun and cost-effective, and we were quite pleased with the end result. So, as I have done before, I thought I would "pay it forward," so to speak, and share my final methods with the Internet, in case anyone is searching for similar inspiration.

Today I will share how I made Ellie's mermaid tutu costume, and tomorrow I'll share my Ursula costume, the makings of Eric's Prince Eric costume and Achilles' King Triton Dog costume.

***CLICK HERE to see Ursula, Prince Eric and King Triton tutorials!***

Without further ado:


DIY NO-SEW* MERMAID TUTU COSTUME

DIY Mermaid Costume

*: I put the asterisks by "no-sew" because I did sew one small OPTIONAL decorative detail onto the costume. However, you could definitely make this without ever pulling out a needle and thread.

Supplies and Cost Breakdown:
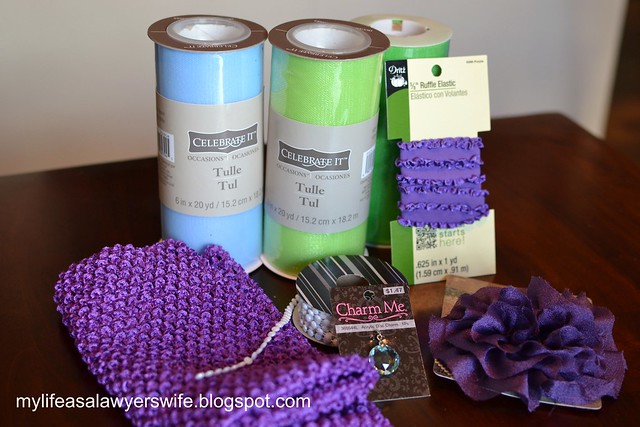
DSC_0131
  • 10" purple crochet headband for top: $3.60 (including shipping, from TDazzled.com)
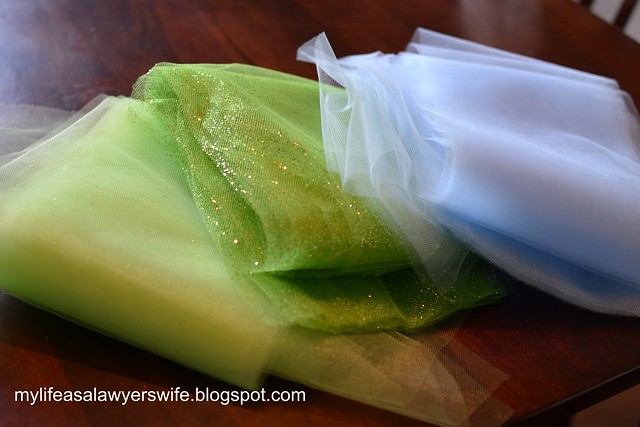
  • Two spools (20 yards each) of plain tulle (blue and green): $2.99 x 2 (from Michael's)
  • One spool (10 yards) green glitter tulle: regular price $3.99, but with 40% off coupon: $2.39 (from Michael's)
  • 5/8" ruffle trim elastic for straps: $1.99 (Michael's)
  • Purple flower: $2.99 (Hobby Lobby)
  • Gemstone for center of flower: $1.50 (Hobby Lobby)
  • Pearl string trim for skirt: $1.99 (Hobby Lobby)
TOTAL COST: $20.44

A couple notes about the supplies and cost:

At the time of Halloween, my daughter was 19 months old. She was 34.25 inches tall and weighed about 25.5 lbs. I purchased 50 total yards of tulle and had nearly half that left over. I would say probably 35 yards would be ideal for a girl of my daughter's size. Hopefully you can use that information and Ellie's measurements to estimate what you need for your own child. Obviously, an older child may require an extra spool or two. How much you need is also dependent on how full you want the skirt.

Also, as I said, I purchased 50 yards worth of tulle in total, and had nearly half that left over. Two spools probably would have been plenty (one might have even been enough), but I opened and used some of three different spools just to have three different colors in the skirt. If you wanted to cut costs, you could go with a solid color skirt to cut down on the number of spools needed and ensuing waste.

You might also cut costs on the trim/details, if you so choose. For example, you don't need the pearl ribbon trim in the skirt; it was a personal preference thing for me. You don't need a gemstone in the middle of the flower, or maybe you can find one that is already adorned. Or, maybe you even already have a hair flower in your possession that would work just fine. Or, go without the flower all together. And so on. Suffice it to say, you can make it as fancy or as simple as you'd like, and your cost will likely adjust accordingly.

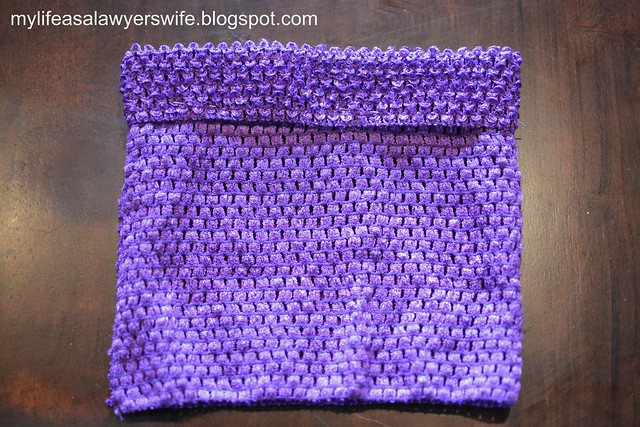
Finally, going back to sizing considerations for a moment, I should mention that I ordered a 10" purple crochet headband to use as the top of the costume. I had planned to fold it in half, but in doing so, it only came about halfway down my daughter's belly. Unfolded it was a couple inches longer than I would have liked (almost to the top of her thighs), so I ended up folding it up a couple of inches. A 10" band is probably perfect for an older child, whereas a child Ellie's size or smaller may want to size down.


Instructions:

First, I measured my daughter to determine the desired length of the skirt and cut strips of tulle. I measured her from the point at her waist that I wanted the skirt to start, down to her ankles. I then doubled that number and added one inch (length x 2 + 1 inch), and that is how long I cut each strip of tulle. (So, if I wanted the skirt to be 15" long, I would cut the tulle into 31" strips.) I went ahead and cut each of my tulle spools ahead of time, using this method.
DSC_0141


You will use the crochet headband as the top part of the dress. As I mentioned above, I folded the top over to "hem" it to the length I wanted and pinned it in place.
DSC_0133

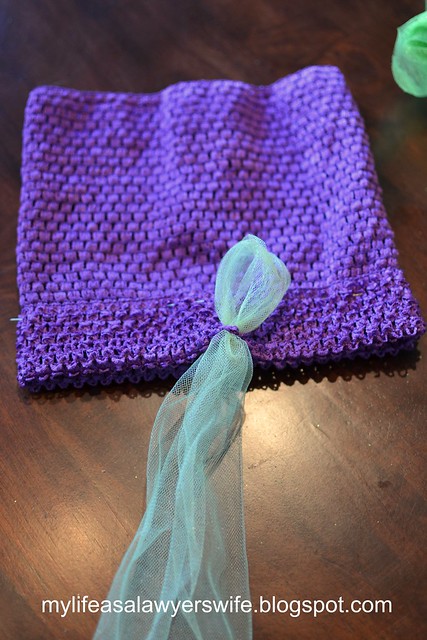
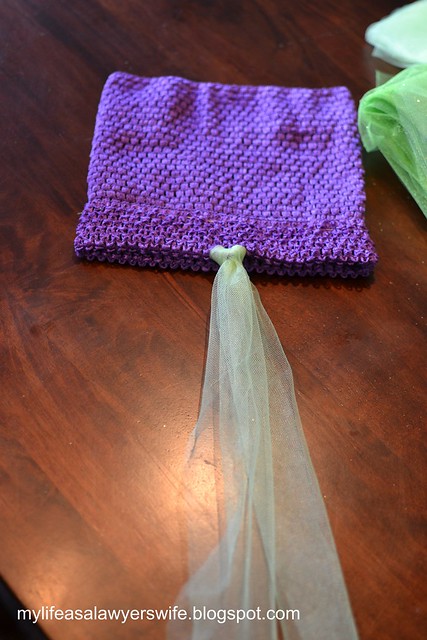
Next I attached the tulle to the crochet headband. The headband has lovely little holes which make this process very easy. Take one tulle strip, fold it in half, and thread the folded side through the holes at the bottom of the headband (because I was "hemming" mine, I made sure to thread it through holes on both parts of the folded section). Don't pull it all the way through; leave the folded loop partially through the headband.

DSC_0143

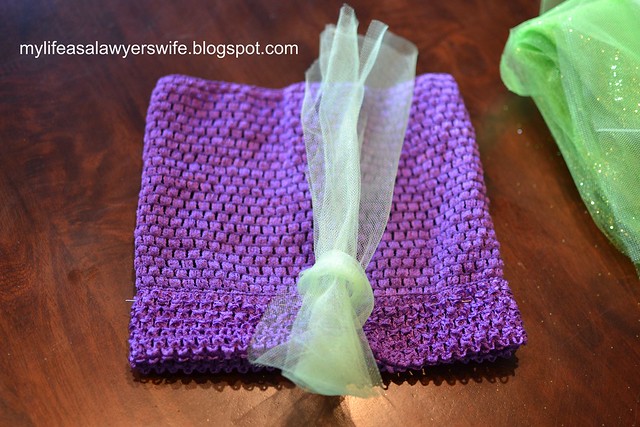
Then, pull the non-folded end of the tulle strip up and thread it through the loop.

DSC_0145

Pull tight to form a knot. Ta-da! One tulle strip is attached and the skirt is officially underway.
DSC_0146

Repeat this process all the way around the base of the headband, threading a tulle strip through every other hole. I varied my use of the green, blue and glitter tulle strips in a random pattern and also used the same method to attach a few strands of pearl ribbon for added detail.

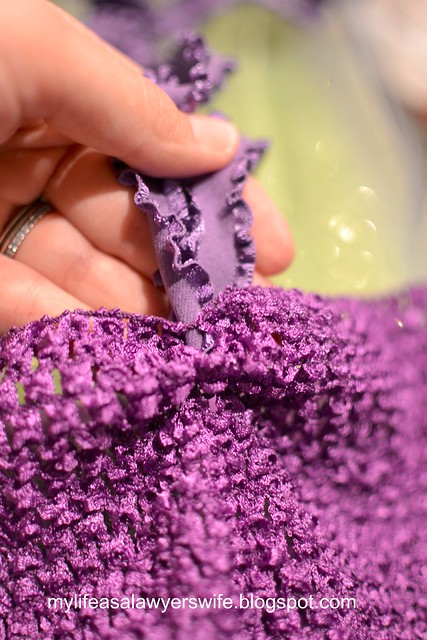
Next, I added the straps. I cut the ruffled elastic to my desired length and threaded one end through the center of the bodice near the top several times, like so:

DSC_0148

When I pulled the elastic tight, it gathered the center of the bodice a bit, creating a slight sweetheart neckline:

DSC_0155

To secure the elastic to the back of the dress, I simply knotted it in place where I wanted it.

I also stitched the gemstone to the center of my flower and attached the flower to the gathered part of the bodice with a little twist-tie piece that came with it. You might also use a hair flower with a clip, or glue a flower on, or thread it in with your elastic. For me, the twist-tie was immediately available and easy!

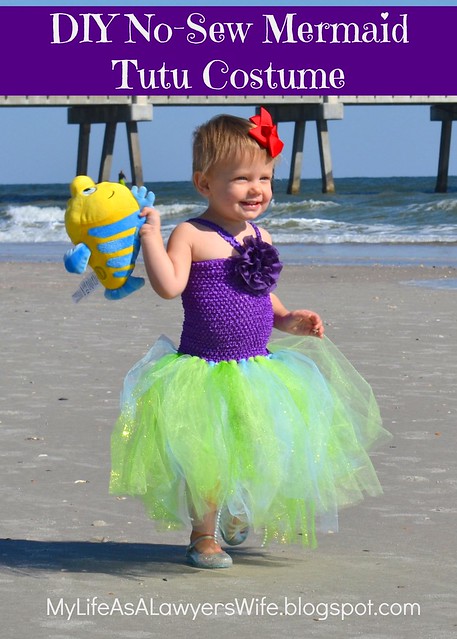
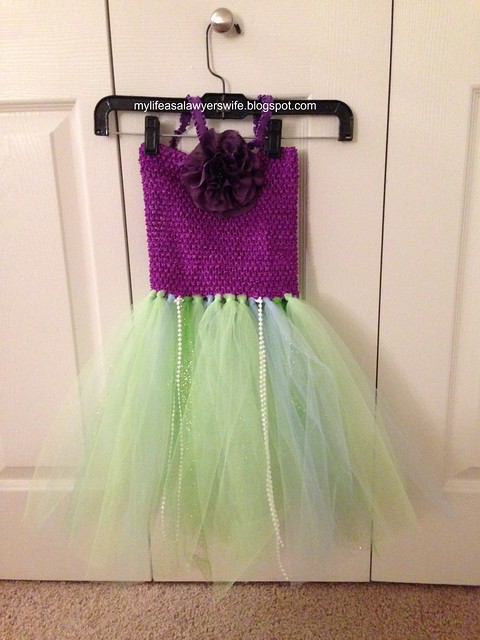
And that's all there is to it! The whole thing took me probably about an hour, maybe less. Here's a look at the finished product:

IMG_2242

I will say, I very seriously considered cinching the skirt as shown in this tutorial, but given that my toddler is still pretty new to the whole walking thing, I didn't want to risk tripping her up. She had plenty of room to move in this skirt, as evidenced by her frolicking on the beach in it!

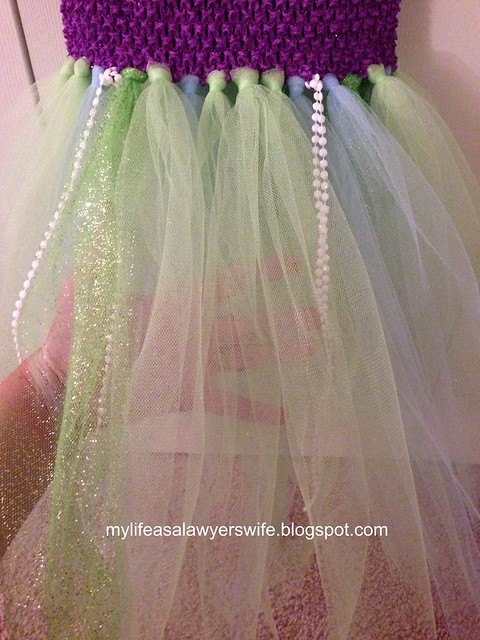
However, as you can see below, the skirt was pretty sheer:

IMG_2243

I tossed around the idea of adding another layer of tulle to help that a bit but ultimately didn't want any more "pouf," so my Little Mermaid just ended up wearing white leggings underneath it and that was perfectly fine. We also accessorized her with a red hairbow, clear blue jellies I found at a consignment shop and a stuffed Flounder from the Disney Store.

And if I do say so myself, we ended up with one cute mermaid!


Please feel free to email me if you have any questions about the making of this costume, and if you're looking to do the full family ensemble, please see tomorrow's post about Ursula, Prince Eric and King Triton!